
A.n.i.m.a.t.i.o.n.
Roughs, cleans and giving up on cleans because guess what there is little time

Log
Project SONHOS
Time in production 40 weeks and 3 days
Status Production: Clean up!
This newsletter is finally caught up with my pace! The things I share now are the things I am working on at this very moment. I am finally writing about production. Here are all the compromises I had to make!
Rough animation
The rough animation was the most unknown, yet fun step of the process. Unknown, because I have too little experience to know how long it will take, or how challenging a movement is, and fun, because this is where you create life! In the roughs, the drawings move for the first time, and that is exhilarating. And I will admit, that feeling is especially true when you manage to create an accurate looking movement without reference. That is rare, however, which is why for many shots I recorded reference either of myself or my partner, or looked something up on YouTube.
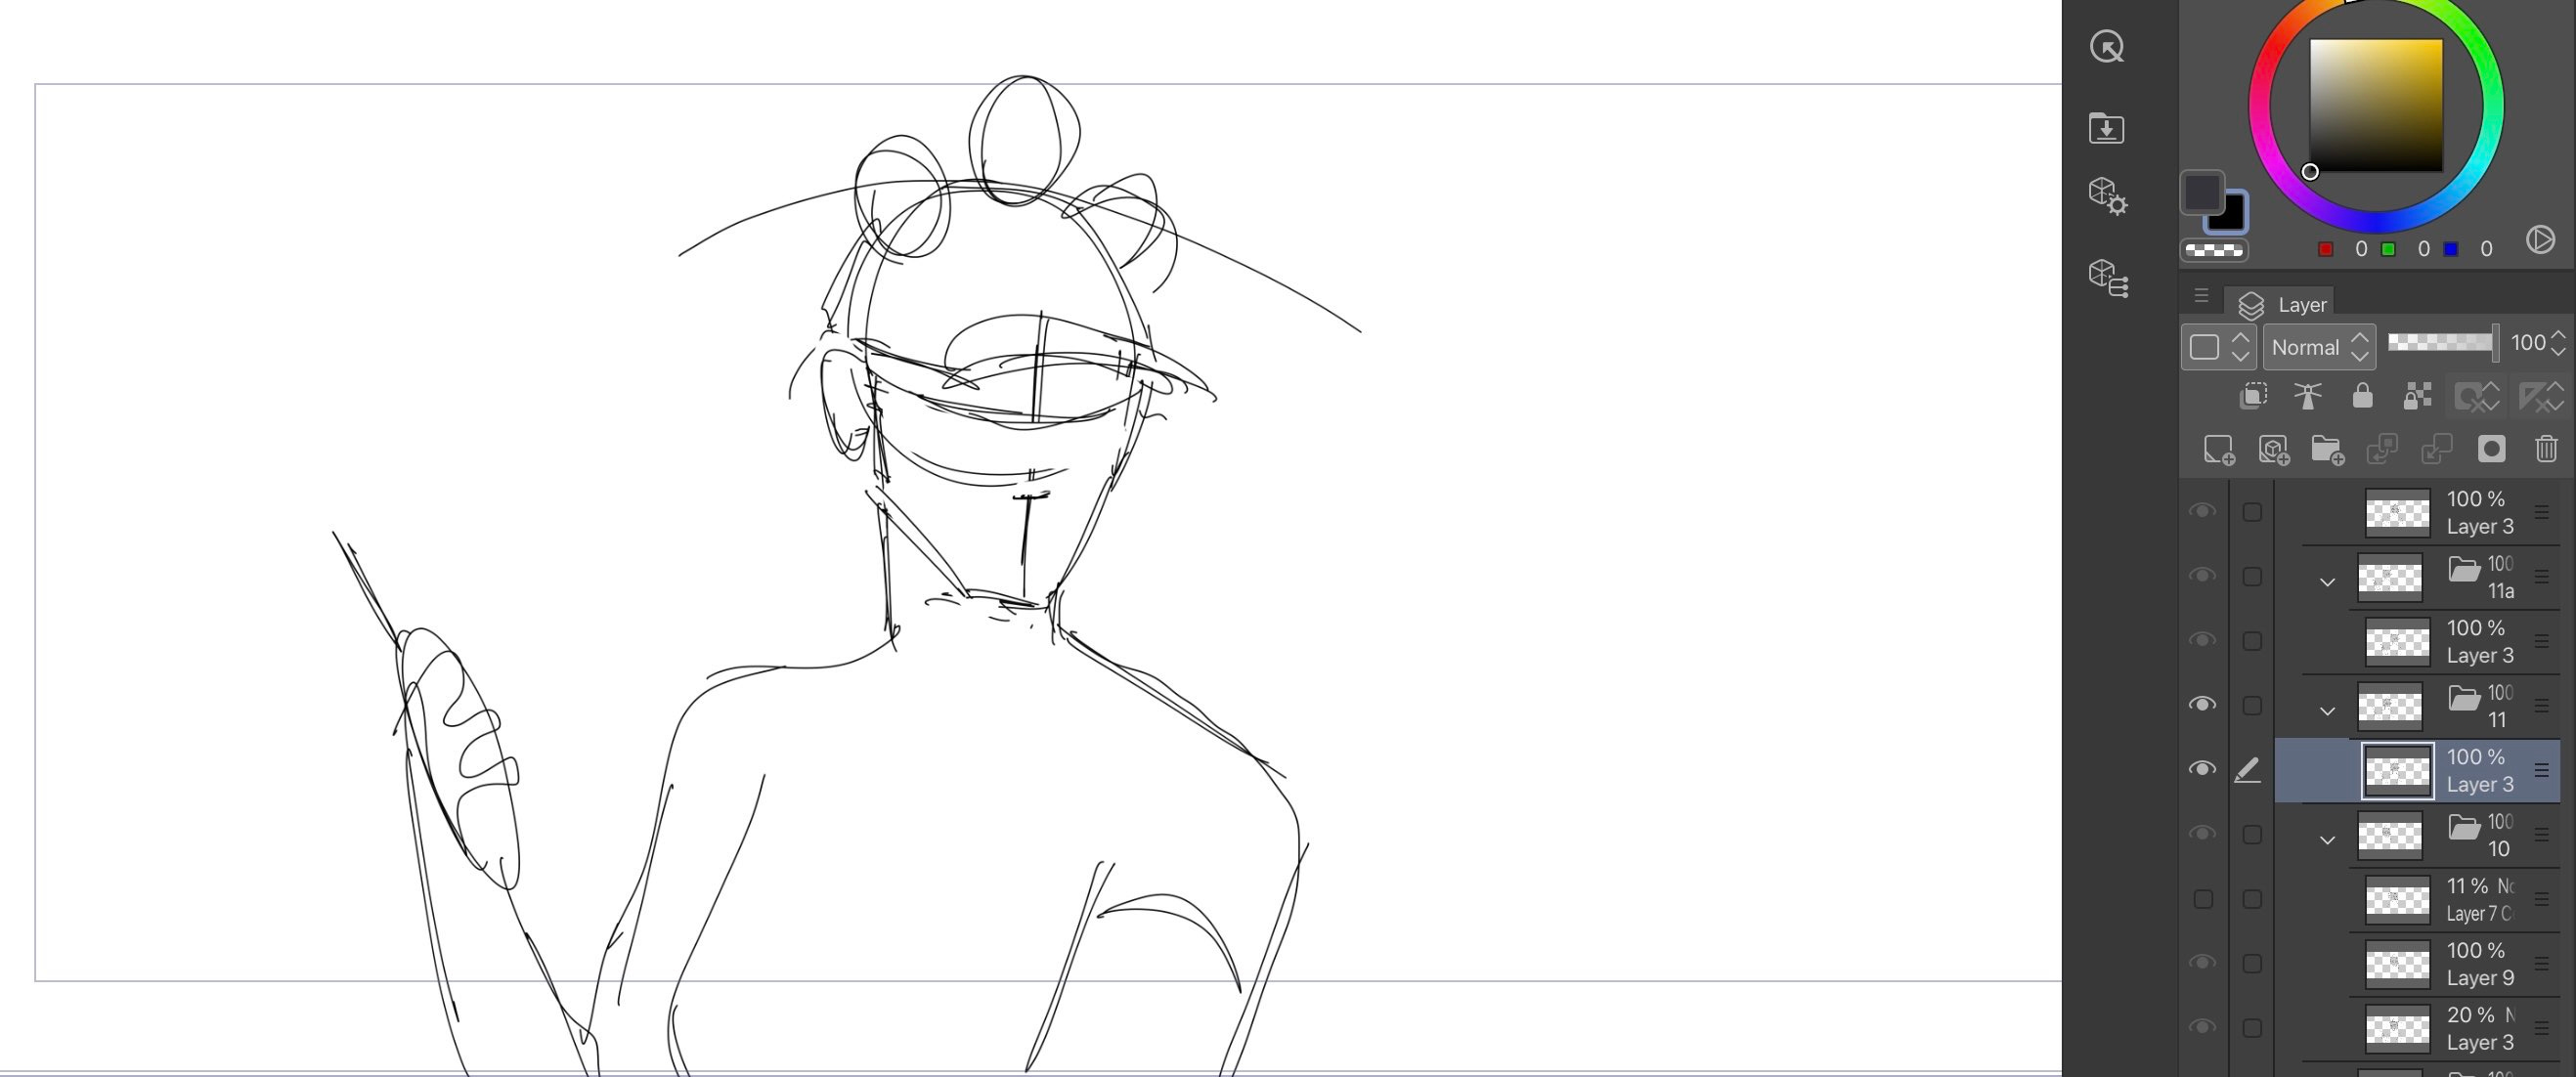
My roughs were quite rough - for many shots I did not animate the face in the beginning, as my brain really wanted to focus on body movements. Only later did I go back to create the lip sync. I was very relieved when I found out that lip sync can be quite simple, involving only two or three alternating mouth shapes. But instead of doing a rough rough first, and then a cleaner rough before clean up, I only did one pass of roughs. I had no time for refined roughs, which is why I had to make an adaption to clean up.
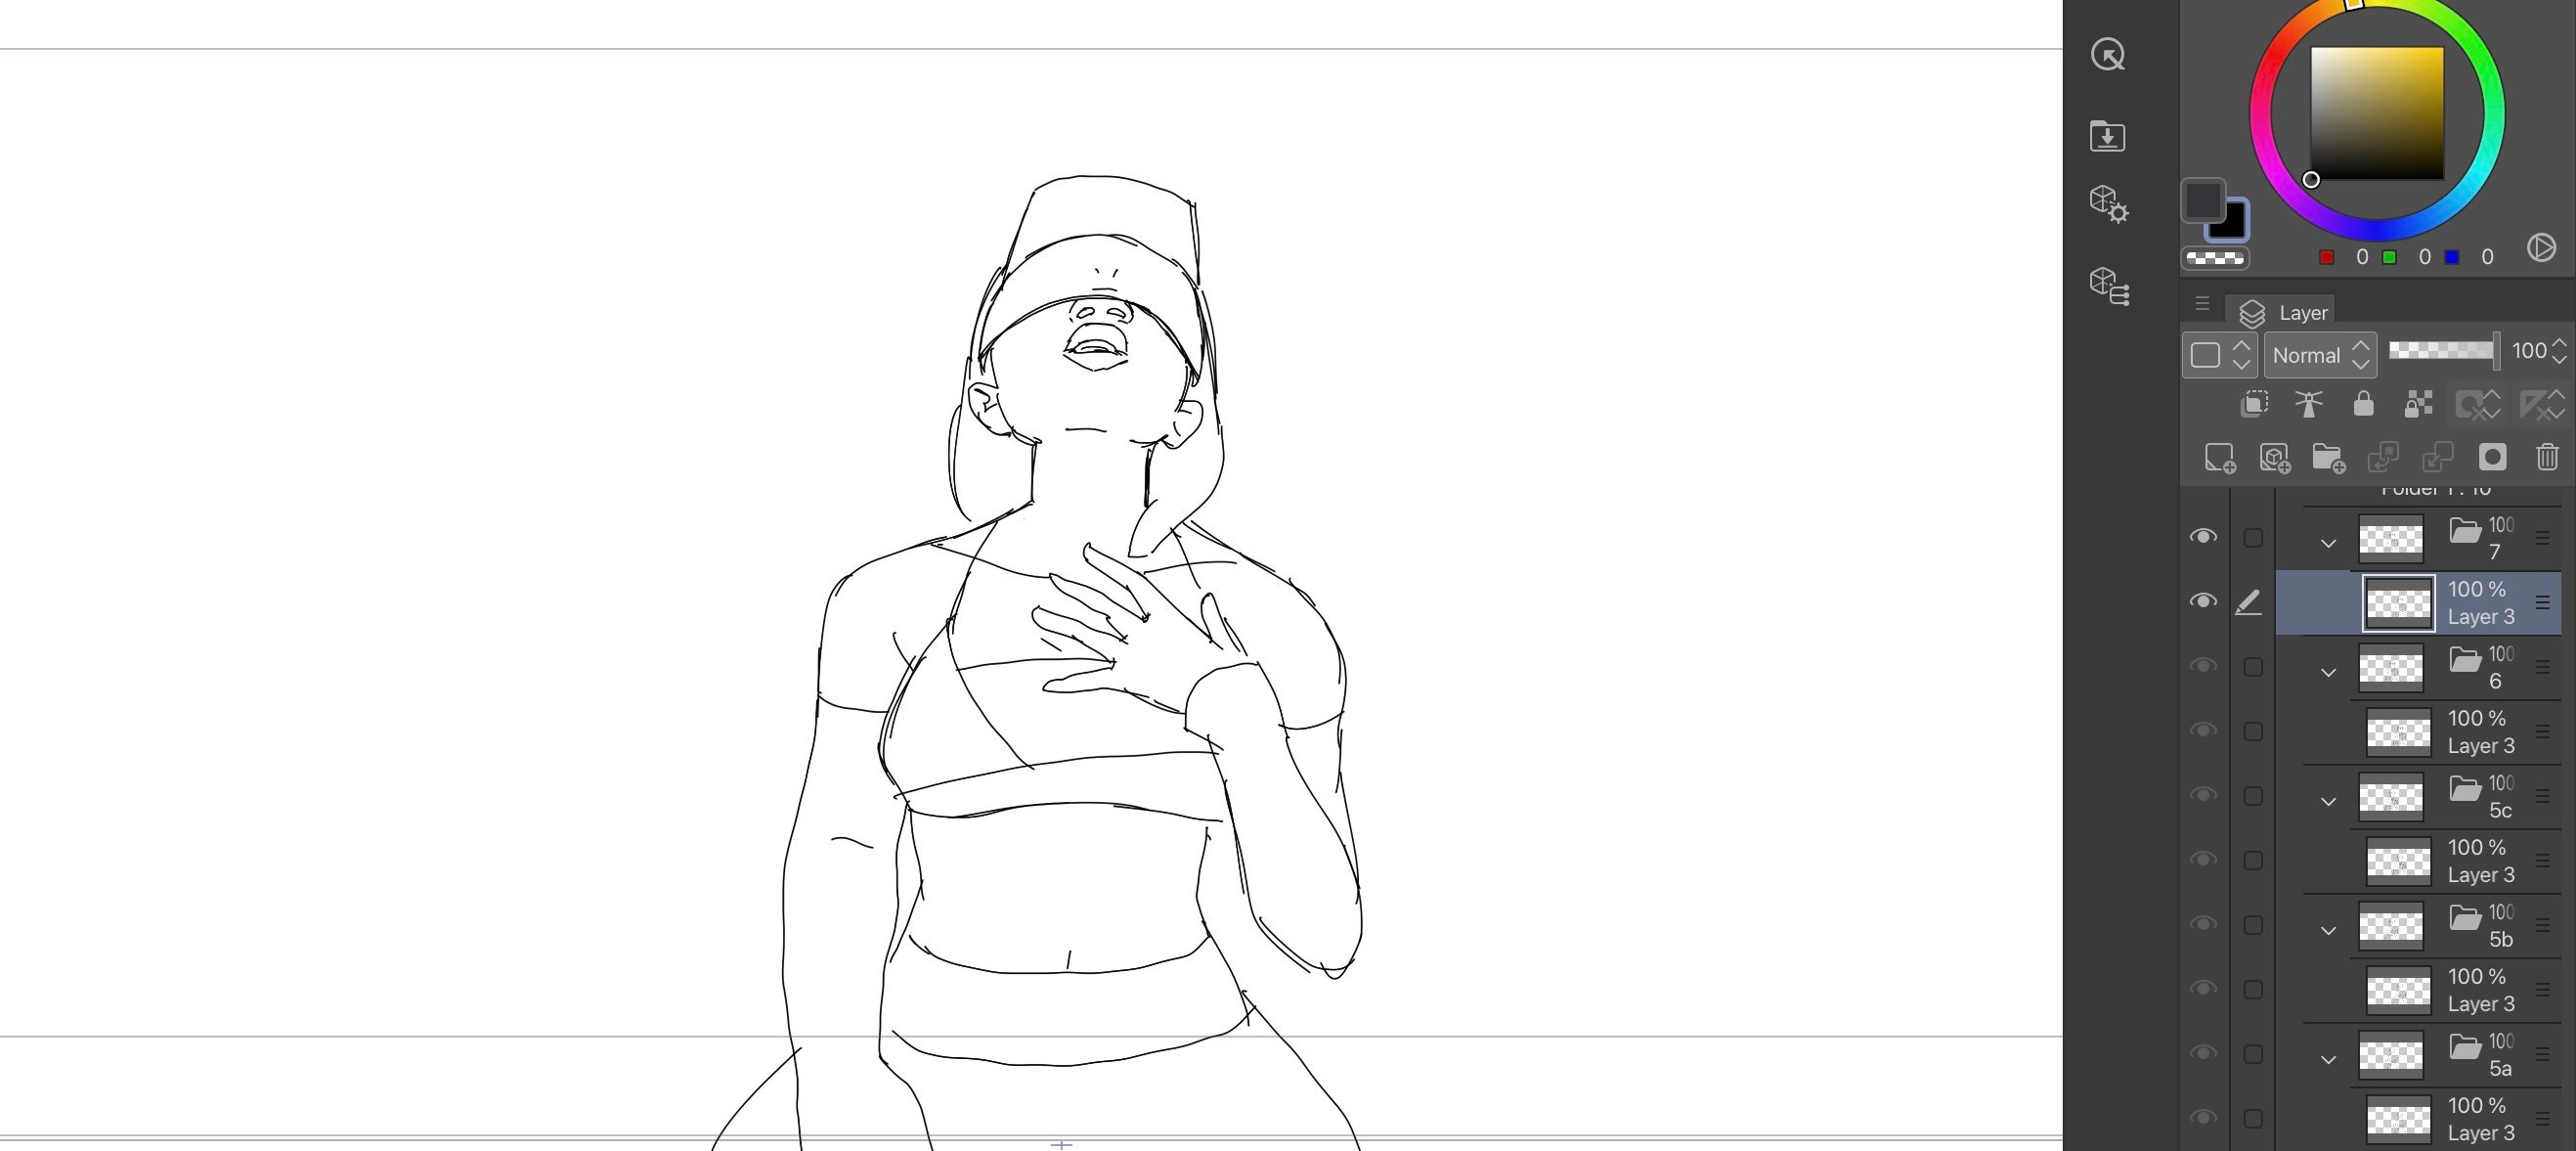
Clean-Up
I really wanted to have the classic clean line art style we know from anime and other current productions, but that style takes time, since the lines need to be super precise. Therefore, facing the reality of my deadline, I decided to use precise line art only in slower frames or important poses, and inbetween in a sketchy, kind of jagged line art style that was much faster to produce. That really hurt my heart, because I really wanted the clean style, but I accepted that jagged and done is better than precise but unfinished. Maybe.
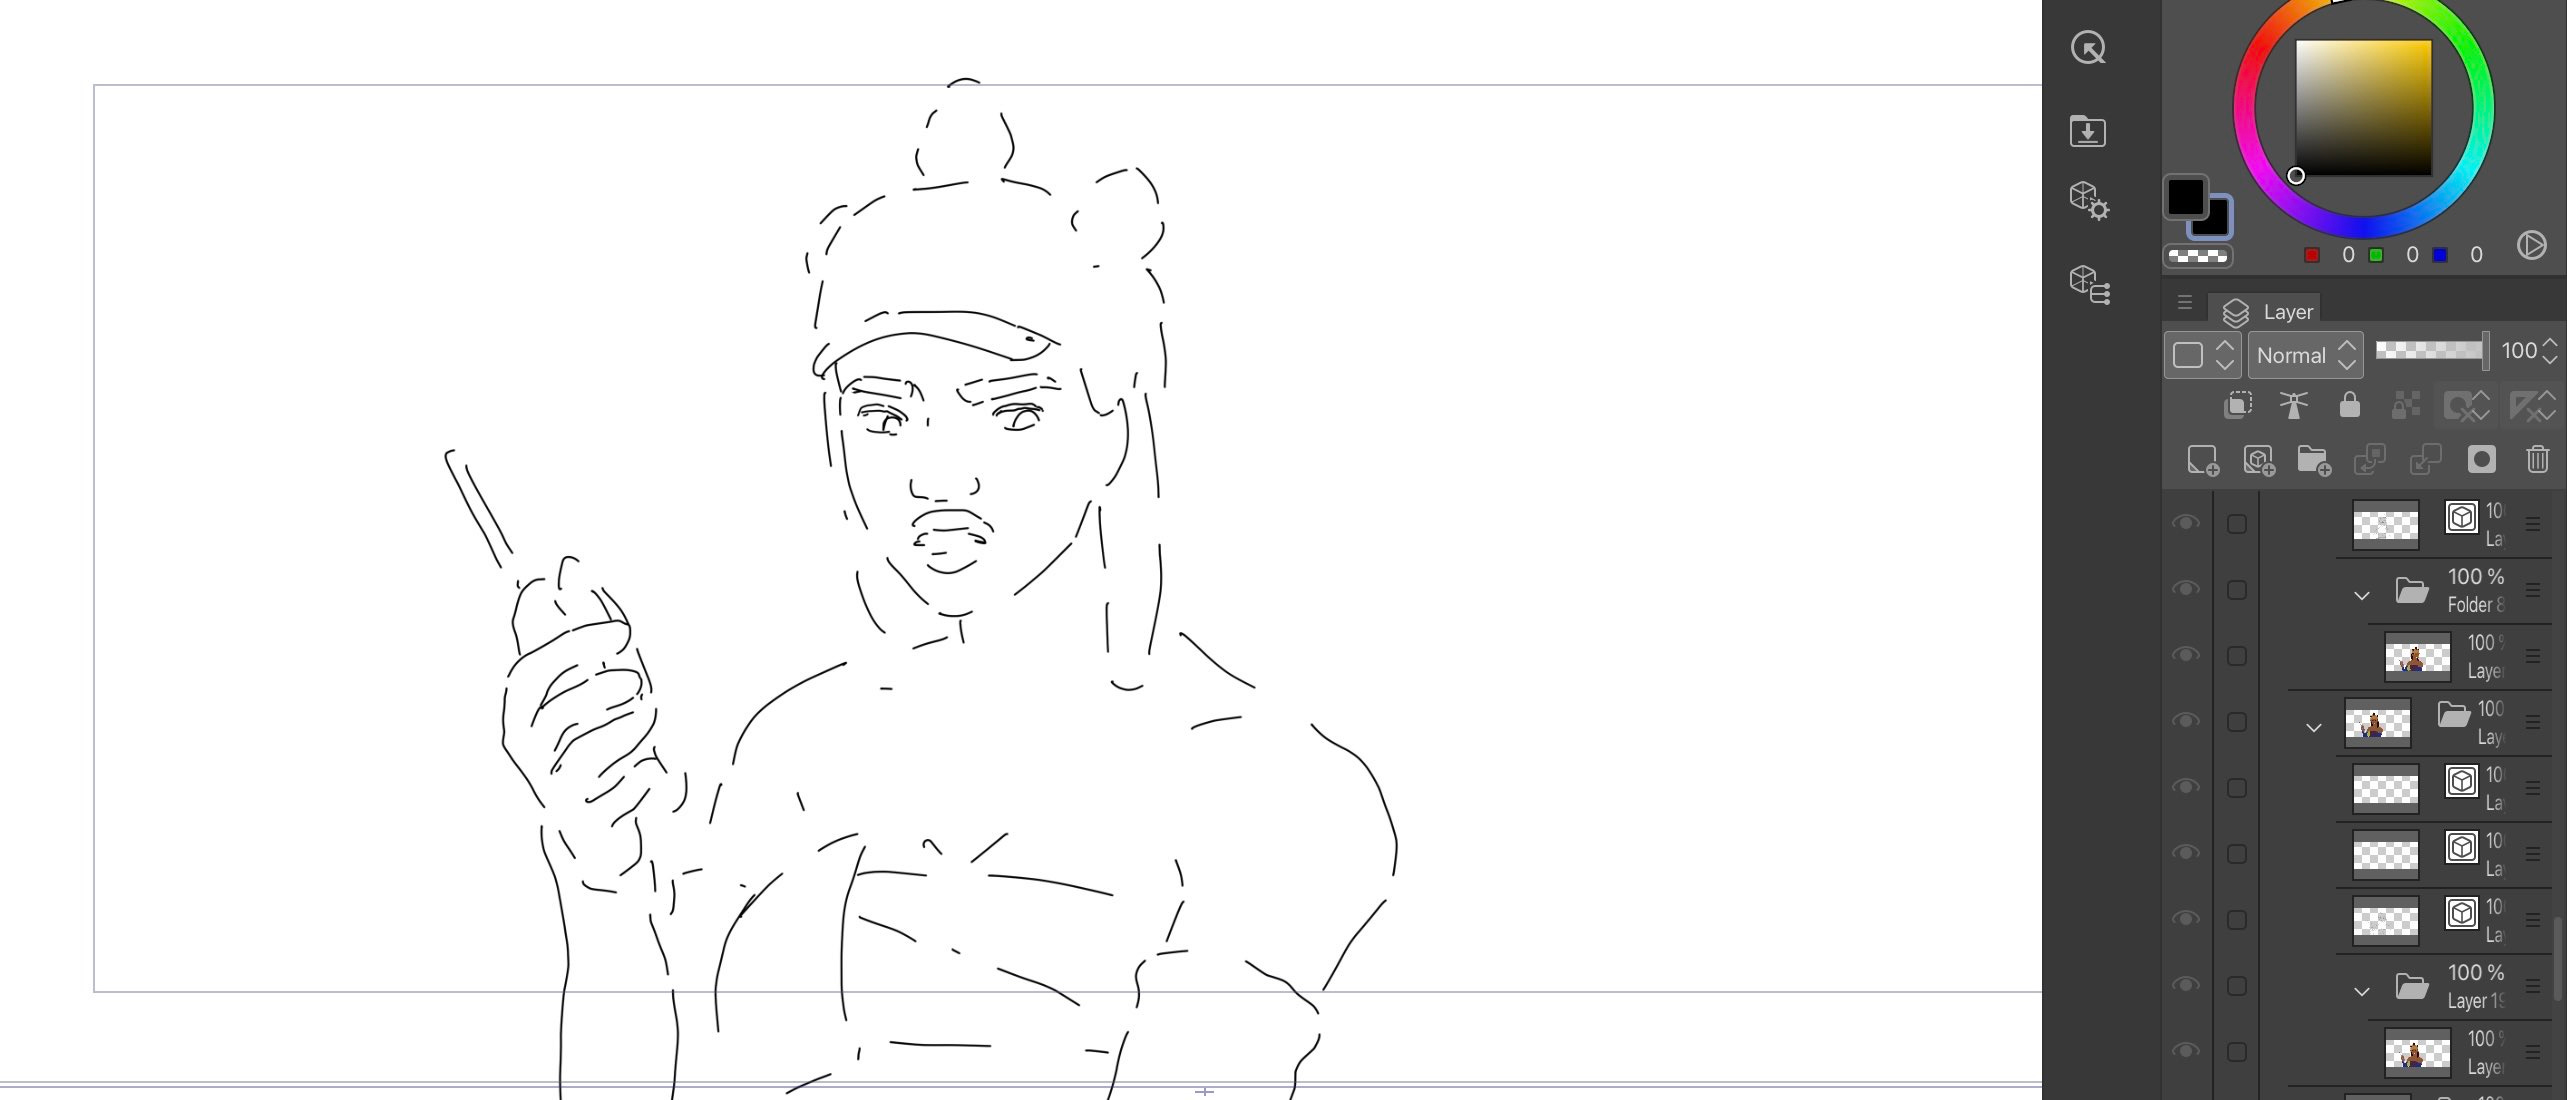
This is making my clean up quite a collage - most of the frames I am drawing precisely, then some of the frames use copy/pasted parts, which makes the animation more mechanic and cut-out-y, and then there are the sketchy inbetween frames, which are partially my original roughs and partially a broken up line art clean up. Chaotic. I noticed that to make all this still look good, the key is to animate the volumes correctly.
I got the idea for the broken up line art from looking at japanese key animation (Genga). In some frames, they only indicate the silhouette of the figure, or simplify the details a lot, but those indications are done so thoughtfully that you don’t get distracted by it when watching the animation, it still looks super cool. Here is an example from Mushoku Tensei. And the thing about keeping the volumes correct, this video explains this briefly and it’s a great lesson on clean up overall.

I am using Clip Studio Paint Ex for this project, which has vector layers. For the line art I am using those vector layers, bacuse they make the reusing of lines a lot easier. I can edit single lines, or resize the drawing and adjust the line witdh back to normal, or use the eraser to cut overlapping lines. This is being a true time saver, and I’m probably not even using all the tools available. Next issue will be entirely dedicated to how I’m using this software. Do you have any questions?
Putting 3D into the file
Last issue I showed how I am converting the 3D models from the vehicles into a 2D style, so here I just wanted to briefly mention how they fit into the 2D timeline.
In Blender, I am not animating the object itself, but the camera, because this makes it easier to use the Scene Line Art filter. This does make it a little harder to create natural movement, but that’s okay. As support, I created a horizon line in Blender to at least match the perspective to my shot layout. Once the animation is done, I export it as pngs and import those into CSP. Then, I position and resize the drawings to fit in the scene (because animating the camera is not precise), and delete some frames because the 3D movement is too smooth and I want it to look more like 2D. The final step is adding details that aren’t on the 3D model, like dirt marks or missing line art (grease pencil is not perfect).
One unfortunate thing I have to do because of not animating the vehicles themselves is to remove the wheels in the png files, and draw the moving wheels on top. That’s a little cumbersome, taking precise erasing and recreating the wheels, but I still believe this workflow is worth it.

Last issue I said I would talk about reaching out to people, which I did, but unfortunately I have no cool features to share right now because the people that could have helped me with animation are mostly busy and/or professionals, and can’t collaborate right now. I don’t blame them, but I wanted to share this because I know not everyone is in an environment full of available, competent and excited peers, and I don’t want that to be a reason to not make an animated project. Working alone or with few people is tough, but doable! Animate!
Up next
As mentioned above, next issue will be dedicated to all that’s technical - Software, hardware, file set up, layers, file management and storage, I will go over all that. And maybe color, if I got that far!
Have a magical day!